Printer
![]()
![]()
![]()
![]()
![]()
![]()
![]()
![]()
![]()
![]()
|
Printer
|
|
|
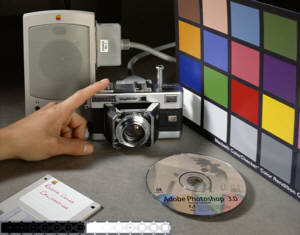
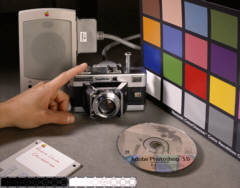
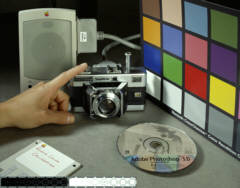
You have two choices - either try and calibrate the printer yourself, or pay for a firm to do it for you. I tried the former with not much luck, but having forked out £20 and 2 sheets of A4 glossy paper - the results are fantastic and I no longer have to try test prints and waste paper. It is now a pleasure to print my pictures and I know that they will come out exactly as I want them - why I never did this in the first place is beyond me! However here is the way to have a bash at the DIY method for an Epson printer... Find yourself a test print image - there a lot of them on the web - try searching with "printer test file chart profile", or download the one at PhotoBox although it has a bit too much saturation in the colour bands, so you will never match it perfectly.Turn your printer on, load it with paper you want to use. With a test
print displayed in your image editing program, click on File>Print with
Preview..., position the image etc. Select the appropriate paper and un-tick all the options like High Speed. Now the fun begins... Keep making prints until you get a good subjective match between your monitor and your test prints. You can never get a perfect match because screen phosphors don't perfectly match printer pigments. Pay attention to skin tones, saturation and contrast. And pay special attention to grey tones they should appear neutral grey on the print as well as the monitor. I suggest that you make your first print with the default settings. Then adjust each of the settings in the direction you think it should go. You may change one or several at a time, as you please. Record the settings on each test print. Learn what they do, and don't be afraid to make several prints! What you learn now will pay off later. The following pictures will help you decide what to adjust...
When you are happy with the results - click on Save Settings... Give the setting a name that indicates the paper type. You will have to repeat this process for different paper types. You will need to select the correct printer setting for the first print you make each time you load your image editor. When you are ready to make a print, go through to the Advance dialog and select the settings you saved. Good luck! and lastly one must consider Colour Spaces
|