Basic Lab mode Curving
This 'tutorial' is going to show, step by step, how I quickly enhanced an image which would be impossible (I believe) in RGB. I shall push this processing, more than perhaps you would, as it will show you the upper bounds of what is achievable. It is easy to reduce any of the effects by lowering the opacity of the adjustment layer.I nearly always use Lab when post-processing, but it is worth noting that it not always the best mode to use (see my Lab hint tips).
I shall first show the steps in Photoshop and then using EasyCurve (which you can download from my Actions page - for use in Elements and/or Photoshop). Before we start you need to convert the image from RGB to Lab by selecting the menu option Image>Mode>Lab Color. I also always do corrections in an Adjustment Layer, so that one can go back and twiddle the settings if necessary - but that's just my way of working.
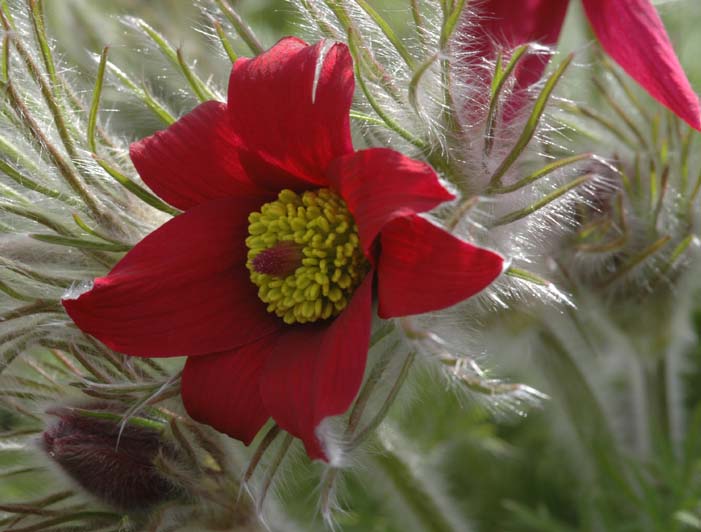
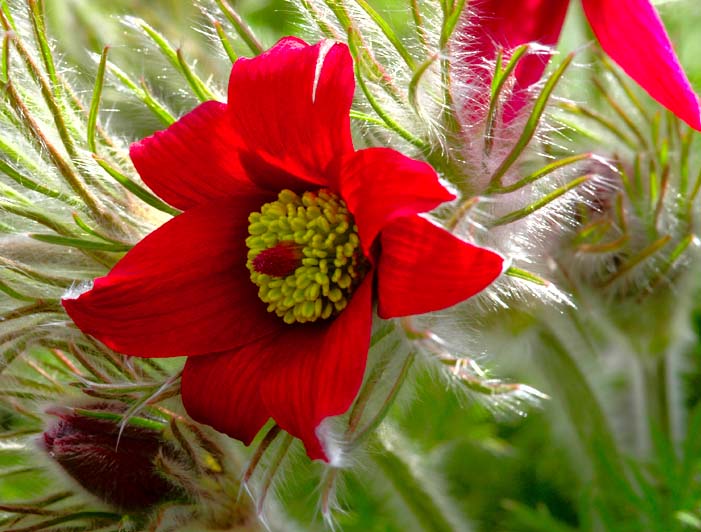
Here are the original and final 'high impact' images - it took less than a minute to achieve just using one curves dialog.
 |
|
I do not recommend a way to set the Shadow and Highlight points or deal with colour casts - both are subjects suitable for their own tutorials.
If you know naught about the Lab colour space, then have a quite skim of my Lab page - the important thing to remember is that tones and colour are held separately - making curving much easier (for simple minds like mine) compared to RGB where one alters both at the same time.
Click here to follow the steps
and you can flick back and forwards to see the changes of each curving step